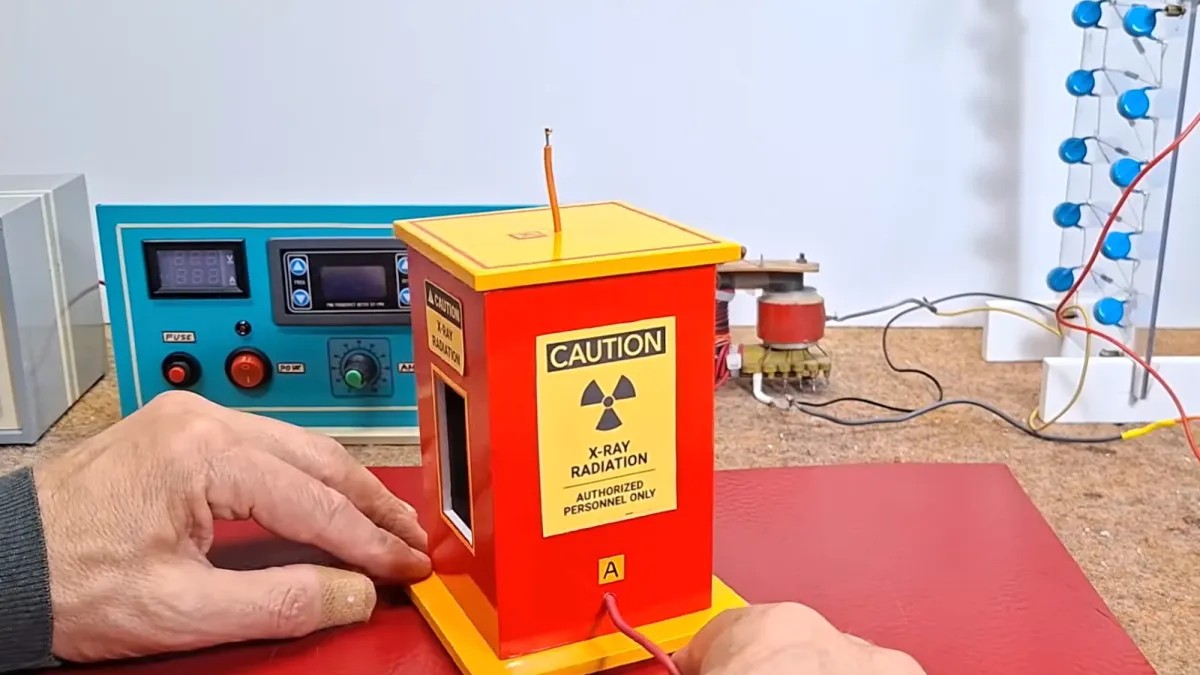
Рентгенівська зйомка справді працює. Саме тому вам, швидше за все, не варто намагатися зібрати такий прилад у домашніх умовах. Радіація – це серйозна річ. Суть роботи рентгенівського апарату полягає в опроміненні об’єкта пучком променів та спостереженні за результатом. Якщо зробити це неправильно, наслідки настануть дуже швидко. Однак роботи майстра з саморобок Мірко Павлескі варті того, щоб розглядати їх збоку. Йому вдалося створити працездатну саморобну рентгенівську установку. І він не купував готовий комплект – він зібрав усе з нуля.
Джерело випромінювання
Звідки береться радіація? У встановленні Павлески не використовувалися сучасні та дорогі промислові компоненти. Як джерело служила вакуумна лампа, саме – лампа DY86, витягнута зі старого ЕЛТ-телевізора. Такі телевізори поступово йдуть у небуття, але їх начинки, як і раніше, корисні. DY86 відповідала за прискорення електронів, створюючи високу напругу, необхідну для роботи екрану. Використання її для генерації рентгенівських променів було clever (винахідним) рішенням, але потребувало граничної обережності.
Вільгельм Рентген відкрив рентгенівське проміння в 1895 році і отримав за це відкриття першу Нобелівську премію з фізики. Через більш ніж століття основний принцип не змінився: промені проходять через об’єкт, щільніші матеріали поглинають випромінювання сильніше, а менш щільні пропускають його. У тілі людини кістки виглядають білими, м’які тканини сірими, а повітря чорним. Павлески застосував ці фізичні принципи до предметів у своїй майстерні, а чи не до людей. Безпека була у пріоритеті: він знімав мікрокарти пам’яті та дрібні транзистори, а не пальці чи пальці ніг.
Проблема ланцюга живлення
Змусити лампу DY86 випромінювати рентгенівське проміння не вдалося просто підключити до мережі. Вакуумна лампа потребує певних умов напруги. Надто низька — і ви нічого не отримаєте, надто висока — і колба розлетиться. Павлеску довелося вчитися на своїх помилках: перш ніж досягти успіху, “розірвалися три лампи”.
Для керування навантаженням він використовував ланцюжок із кількох блоків живлення. Процес починався з низьковольтного генератора постійного струму (DC), який живив інвертор змінного струму високої напруги (AC). Інвертор подавав струм на трансформатор, потім вступав у роботу помножувач напруги. Цей етап був критичним: він підвищував напругу рівня, достатнього для переведення лампи в режим рентгенівського випромінювання.
Обробка знімка
Коли апарат запрацював стабільно, можна переходити до зйомки. Використовувалась стандартна плівка для стоматологічних рентгенівських знімків. Плівку розміщували за об’єктом (зазвичай це були дрібні електронні компоненти) і спалах. Потім була робота в темній кімнаті: проявка, фіксація, повторне промивання. Весь процес займав близько 30 хвилин. Результати були чіткими: усередині корпусу мікрокарти пам’яті можна було розібрати окремі транзистори.
Чи варто братися за цей проект кожному? Абсолютно немає. Ризик радіаційного опромінення реальний. Ризик вибуху вакуумної лампи також є реальним. Павлескі ретельно досліджував питання, використовував засоби захисту та працював у контрольованому середовищі. Більшості людей краще просто подивитися на ці фотографії та задуматися, чому професійне медичне обладнання для візуалізації настільки дороге.